In the stress experiment, the diffraction peak shifts (in respect the peak position in the unstressed specimen, which can be another portion of the same object) are measured and they determine strains. These shift are usually small (around 10-3 to 10-4) but with peak profile analysis stresses can be extracted accurately (with accuracy around 10-4 to 10-5).
Depending on task, apertures, before and after the specimen, define a desirable gauge volume of ~1mm3 or less. The object, which may be as large as a whole engine block, is then translated and rotated to map out the strains (and therefore the stresses) within the object of engineering interest.
The main advantage of using neutrons (as opposed to X-rays) is that neutrons can penetrate centimetres into the object of interest while x-rays can penetrate not deeper then ~100μm. X-rays, on the other hand, are mainly useful for surface problems, like coatings on gears or cutting tools, and for issues in the semiconductor industry.
Both neutron and X-ray strain-scanning is limited to crystalline materials, so we cannot study stresses in plastics or glass by this method.
The basic experiment is very simple, and the main challenge is to design the instrument so that it is able to:
- accommodate large objects (up to 1 tonne) on the sample table and move them around reproducibly to within ~10 μm.
- design monochromator so that it is enough flux to measure strains using gauge volume as small as 0.5x0.5x0.5 mm3
- and at the same time to achieve accuracy as good as 10-5 (but usually 5x10⁻⁵)
And spend for this as little time as possible because number of individual measurement for scanning experiment can be as large as thousands.
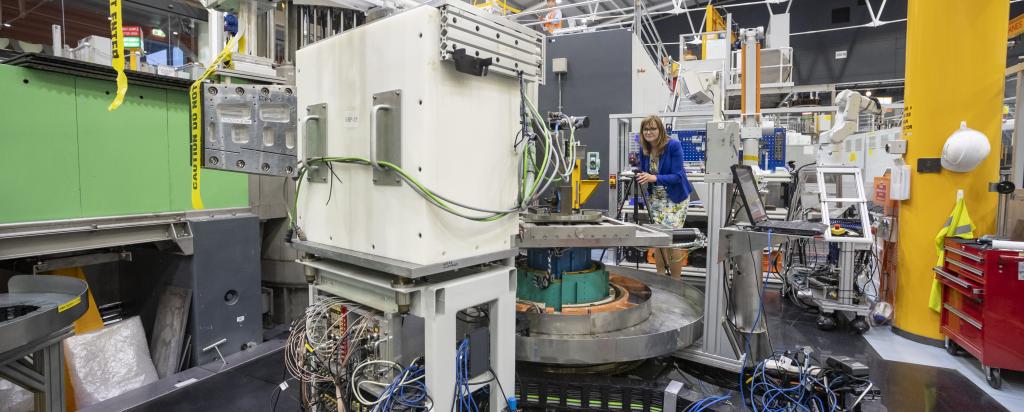
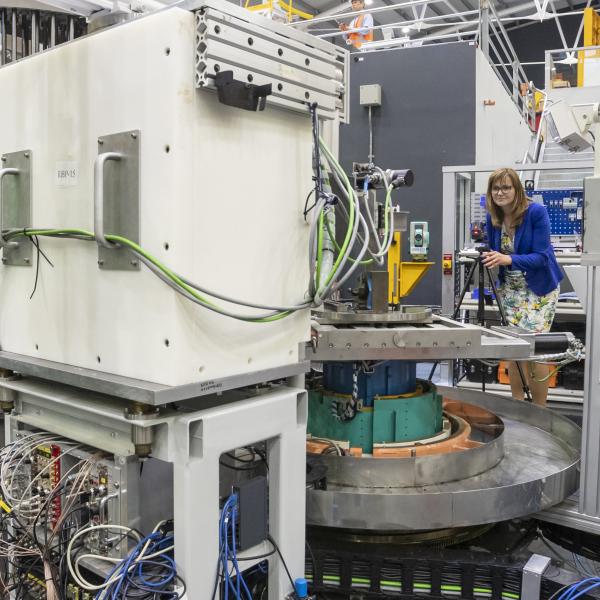
The new generation dedicated strain scanner Kowari is capable of all above due to the large cross section of the TG3 neutron guide (150x50 mm2), large (working volume 200x170x11.6 mm3) Si(400)-type double focusing monochromator, large 2D position-sensetive detector (300x300 mm2) and heavy duty sample table with unique telescopic design with capacity of 1 tonne.
All these place Kowari among the best residual stress diffractometers from neutron facilities around the world.
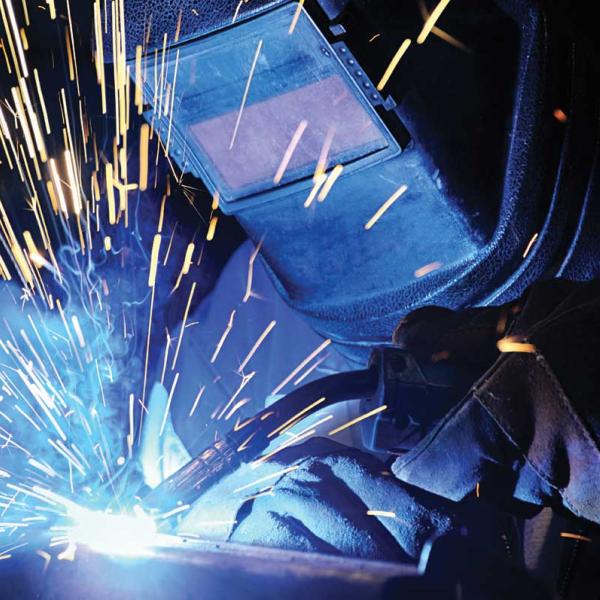
Kowari started its operation for users in 2009. After a few years of operation we see a certain future of our instrument. In Australia, we see the major usage being in problems with steel (and to a lesser extent aluminium-alloy) components, particularly welds.
This reflects the nature of Australia's dominant industries: mining, power generation and transmission, shipbuilding, railways, construction (for instance of sports stadia), life extension of defence assets, and so on.
In Europe and the USA, there is a greater emphasis on higher value-added applications from the aerospace, defence and automotive industries, where composite and other unconventional materials are increasingly being used.
Our ambition is to be good enough at what we do that we will attract business from around the world, much as the Canadians have already done at Chalk River. We hope to build a program that is roughly 50% commercial and 50% academic.
The basic-science interest is likely to be in understanding, at a microscopic level, what is going on in well-known processes like plastic deformation and creep, in application to old and new materials, mostly metals, ceramics, composites and sometimes geological materials.
For instance, in the case of metal-ceramic composites, material scientists seek to understand how load is shared between the metal matrix and the ceramic reinforcement.
Much of this work will require facilities for applying stresses in-situ, and at specified elevated temperatures. It is also clear that there will be an increase in the study of the correlation between texture (preferred orientation of the grains, due to processing) and residual stresses, and in-situ studies of important processes like rolling, welding, milling, etc.
As the rigs for such studies can be designed and funded in the future, this will all be possible on Kowari. Using this approach we have built a set of ancillaries to assist our users in their research.
We can operate two load frames (100kN and 50kN) equipped with mirror furnace (up to 1000°C), an environmental chamber for large samples (size up to 100x100x100 mm3 and temperatures up to 200°C), cold grips (down to -30°C) inside a vacuum chamber to prevent icing, adapters for various sample types and geometries for experiments in either tension or compression.
